- Install and activate the required plugin Elementor.
Elementor is one of the most popular WordPress page builder plugins powering more than 5 million websites. - Make sure you deactivate the free plugin Livemesh Addons for Elementor upon installing the premium version.
- Unzip the downloaded addons-for-elementor.zip file and upload to the
/wp-content/plugins/
directory or upload the plugin zip with the help of Plugins→Installed Plugins→Add New button.
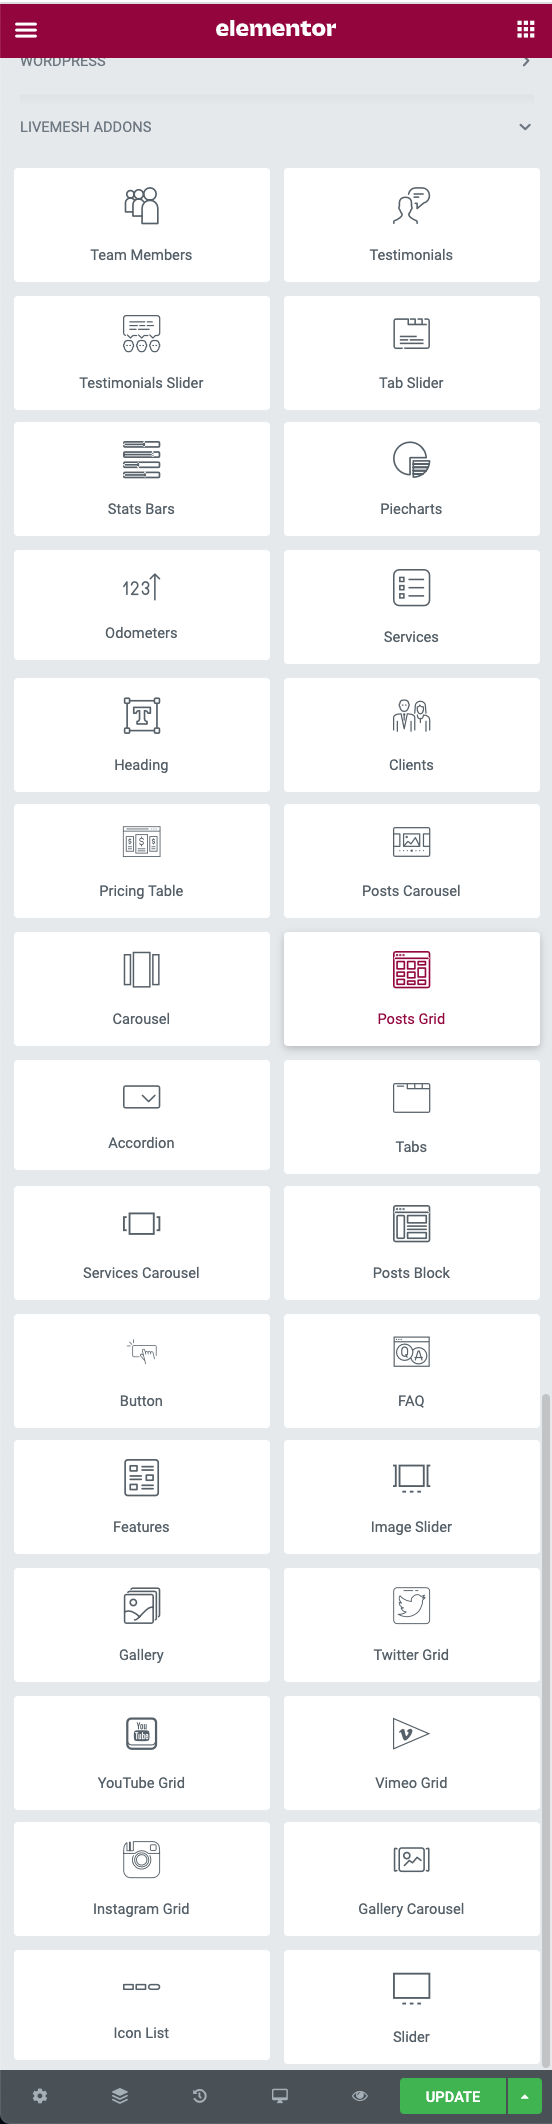
Activate the plugin through the ‘Plugins’ menu in WordPress. If you are viewing this help page in WordPress admin under Elementor Addons→Documentation, you have already activated the plugin. - Once the plugin is activated, all of the elements part of the plugin are available in frontend Elementor sidebar, grouped under ‘Livemesh Addons’.

Once you are done with developing the site, for performance gains, you can selectively deactivate
the unused elements in ‘Elements’ tab of Settings->Livemesh Addons page. This will ensure that scripts and files relating to the deactivated elements do not load on your site. - If you plan to build a portfolio site and plan to use Posts Grid element for the same, install
and activate the optional plugin Portfolio Post Type. The portfolio examples of Posts Grid element is built using custom post type registered by
this plugin.
Livemesh Addons for Elementor
Elementor Page Builder Addons